Focus Stacking for Travel Photography 2026
Learn focus stacking for travel photography 2026. This step-by-step tutorial teaches sharp landscapes from front to back.
Focus Stacking for Travel Photography 2026 is the single most powerful technique I use to turn ordinary travel shots into jaw-dropping, sharp-from-front-to-back masterpieces. In this tutorial, I'll show you exactly how to master it, even if you've never tried it before.
Understanding Focus Stacking for Travel Photography 2026
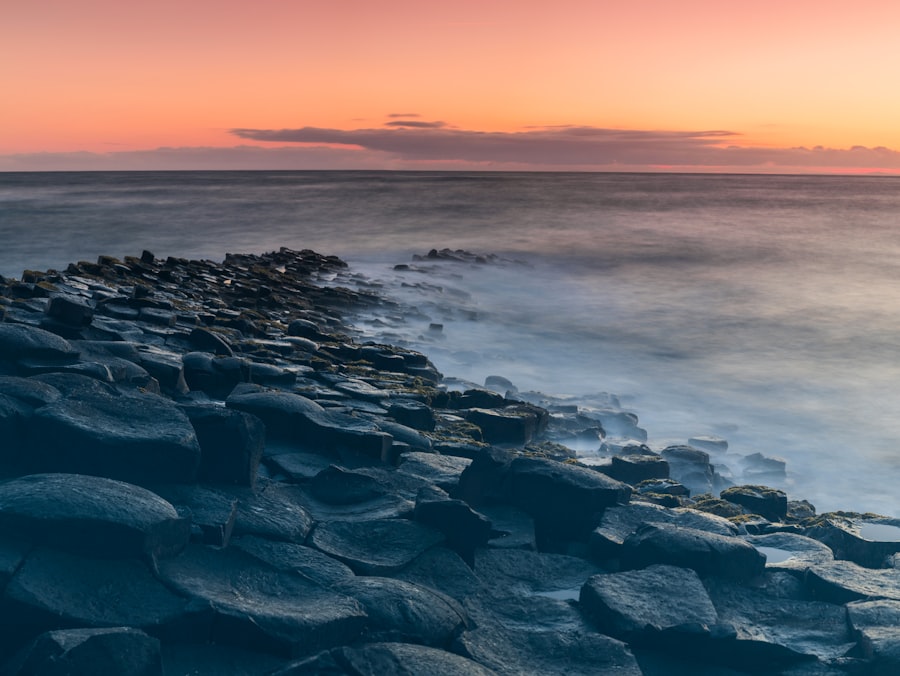
First, let's look at the problem every travel photographer faces. You're standing in front of a stunning landscape – say a vibrant flower in the foreground with a mountain miles away. Your camera's lens can only focus perfectly at one distance. So you either get sharp flowers and a blurry mountain, or a sharp mountain and soft flowers. That's where Focus Stacking for Travel Photography 2026 comes in. You take multiple shots, each focused at a different point, then blend them in software to create one image that's tack sharp from your toes to the horizon.
The secret is that your camera already has the tools to make this easy. Most modern mirrorless cameras (like the Sony A7R V or Canon EOS R5, both from 2026 models) include built-in focus bracketing. But even if yours doesn't, you can do it manually. I'll guide you through both methods.
Why You Need Focus Stacking for Travel Photography 2026
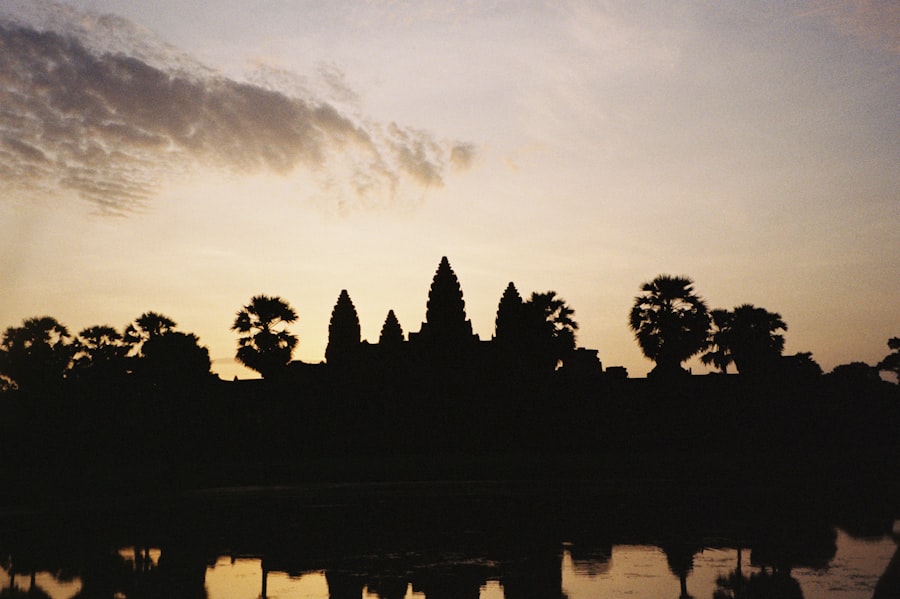
Now try this: imagine you're photographing a narrow alley in a European village. The cobblestones at your feet, a worn wooden door in the middle, and a distant cathedral spire – all in one frame. A single shot forces you to compromise on depth of field. You could stop down to f/16, but that introduces diffraction, softening your image. Plus, in low light, your ISO would skyrocket, adding noise. With Focus Stacking for Travel Photography 2026, you can keep your aperture wide open (say f/5.6) for maximum sharpness, use a low ISO (like 100), and end up with an image that's crisp everywhere.
Here's a personal story. On a trip to Nepal in 2026, I tried to capture a prayer flag flapping in the foreground with the Annapurna range behind. My first attempt? Disaster. The flag was sharp, the mountains were a blurry mess. I felt sick. Then I remembered focus stacking. I shot five frames, each focused a little farther back. After blending them, the final photo had every fiber of the flag and every snow-capped peak in perfect clarity. That photo now hangs on my wall. Your photos will look just as amazing once you learn this.
The Simple Gear You'll Need
Don't forget to keep your gear lightweight for travel. Here's what I recommend:
- Must-have Gear for Focus Stacking for Travel Photography 2026:
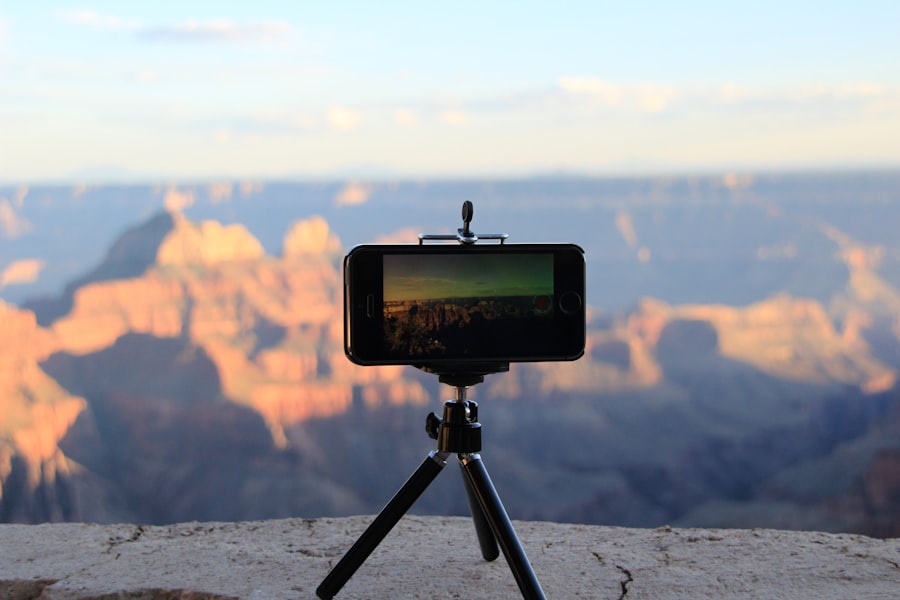
- A sturdy tripod – even a compact carbon-fiber one will do. The tripod keeps your composition identical between shots.
- A camera with manual focus or focus bracketing. DSLR or mirrorless both work.
- A remote shutter release or your camera's self-timer to avoid shake.
- Editing software like Adobe Lightroom Classic or Photoshop (or free alternatives like Affinity Photo).
The secret is that you don't need expensive macro lenses. Standard zoom lenses (24-70mm) work beautifully for landscape stacking.
Recommended Settings for Your First Stack
- Recommended Settings for Focus Stacking for Travel Photography 2026:
- Shoot in RAW format – gives you maximum flexibility when blending exposures.
- ISO 100 or 200 to keep noise minimal.
- Aperture around f/5.6 to f/8 – wide enough to avoid diffraction, narrow enough to give decent depth per shot.
- White balance set to a fixed value (like Daylight) so color doesn't shift between frames.
- Exposure Compensation: dial in +0 or +0.3 EV if your scene is high contrast; you can adjust later.
Step-by-Step Guide: How to Shoot and Stack
Step 1: Set Up Your Camera and Tripod
First, let's look at your scene. Compose carefully. Use the Rule of Thirds to place your closest subject in the lower third and check your background. Mount the camera on the tripod, turn off image stabilization, and switch to manual focus mode. If your camera has focus bracketing, enable it and set the number of shots (usually 5 to 15) and step size. If not, plan to manually adjust focus for each frame.
Step 2: Shoot the Frames
Now try this: focus on the nearest point you want sharp. Take a shot. Then slowly turn the focus ring (or let the camera step) to the next point. Take another shot. Continue until you've covered the farthest point. A good rule is to overlap focus zones by 20-30%. In practice, for a typical landscape, you might shoot 3 to 8 frames. Don't forget to use a remote release or 2-second timer to avoid vibration.
Step 3: Merge in Post-Processing
The secret is how easy modern software makes this. In Photoshop, go to File > Scripts > Load Files into Stack. Select your images. Then, with all layers selected, go to Edit > Auto-Blend Layers. Choose "Stack Images." Photoshop aligns and blends them. In Lightroom Classic 2026, you can select the images, right-click, and choose "Photo Merge > HDR Panorama... but there's a dedicated Focus Stacking module in the newest update. I recommend watching the Adobe Focus Stacking tutorial for the latest steps.
Golden Rule of Focus Stacking for Travel Photography 2026: Always shoot more frames than you think you need. You can always discard extras, but you can't go back and refocus a missed point. When in doubt, over-cover your depth.
Common Mistakes and How to Fix Them
Even after practicing Focus Stacking for Travel Photography 2026, you might hit snags. Here are the top three and how I fix them.
- Blurry spots after stacking: Usually caused by gaps in focus coverage. Simply add more intermediate shots next time. Also check that your tripod didn't shift – use a heavier model or weight your bag.
- Ghosting or halos around edges: This happens when there's movement (wind-blown leaves, people walking) between frames. Shoot faster or use a faster shutter speed. In post, try Photoshop's "Seamless Tones & Colors" option.
- Exposure changes between frames: Your camera's Auto ISO or Auto White Balance may have drifted. Always set them manually. For tricky lighting, lock exposure with exposure lock (AEL button).
One more tip: if you're using a wide-angle lens, the hyperfocal distance can reduce the number of frames needed. But don't rely on it alone – stacking gives you unbeatable sharpness.
Taking It Further: Combining with Other Techniques
Now try this: once you're comfortable with the basics, combine focus stacking with HDR or panorama. For a high-contrast scene (like sunset over a canyon), shoot three exposure brackets for each focus point. Then stack each bracket, then merge the stacked brackets into a final image. It sounds complex, but software can automate much of it. For a deep dive, I recommend reading DPReview's guide on focus stacking – it's a classic resource updated for 2026.
Don't forget to also experiment with bokeh. If you want a dreamy blur behind your main subject, you can deliberately skip stacking the background. The control is all yours. That's the beauty of Focus Stacking for Travel Photography 2026 – it gives you creative freedom, not just technical perfection.
Final Thoughts: Your Next Adventure
I want you to go out this week with your camera. Find a scene with a clear foreground, midground, and background. Shoot your first stack. Expect it to take 5-10 minutes the first time. Your results might have a small flaw – that's okay. Tweak your step size and try again. Within three attempts, your photos will look like they were shot with a view camera from a century ago, but with modern clarity. Trust me, the moment you nail your first sharp-from-front-to-back image, you'll be hooked. Focus Stacking for Travel Photography 2026 isn't just a technique – it's your ticket to professional-level travel photos that stop viewers in their tracks.
Happy shooting, and see you on the road in 2026.
Frequently Asked Questions
What is focus stacking and why is it useful for travel photography?
Focus stacking combines multiple images taken at different focus points to create a single photo with sharpness from foreground to background, perfect for landscapes with nearby details.
Do I need special equipment for focus stacking while traveling?
Not necessarily; a camera with manual focus mode and a tripod are key, though a remote shutter or timer helps avoid shake.
How many shots do I typically need for a focus stack in travel photography?
It varies, but usually 3-10 shots are enough to cover depth from a close foreground to distant background in most scenes.
What is the best way to take focus stacking photos in the field?
Use manual focus to adjust from nearest to farthest point, ensure consistent exposure and composition, and avoid moving elements like wind or people.
Which software do you recommend for merging focus stack images?
Adobe Photoshop, Helicon Focus, or Affinity Photo are top choices, each offering robust alignment and blending features.
Camille Bernard shares travel photography tips for every kind of traveller, from phone snapshots to full kits. She breaks down light, composition and timing so you come home with photos that actually capture how a place felt.
💬 Comments (0)
No comments yet. Be the first!