Bergen blue hour photography 2026 guide
Master Bergen blue hour photography 2026 with expert tips on exposure, gear settings, and capturing Norwegian reflections.
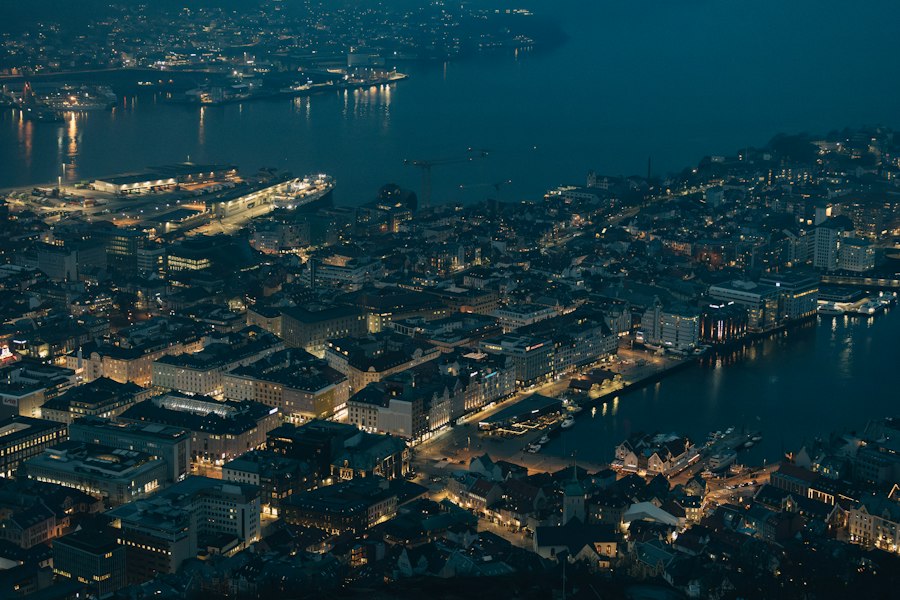
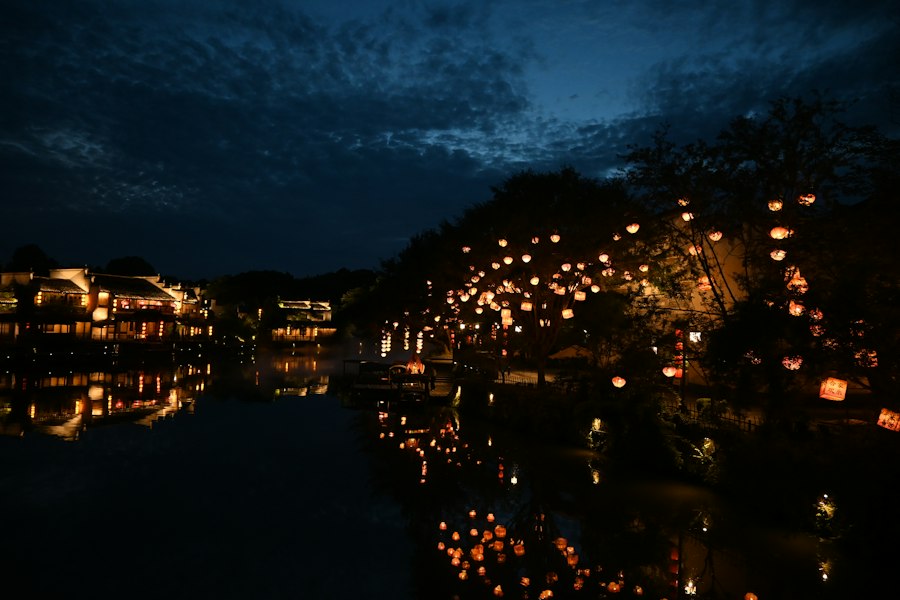
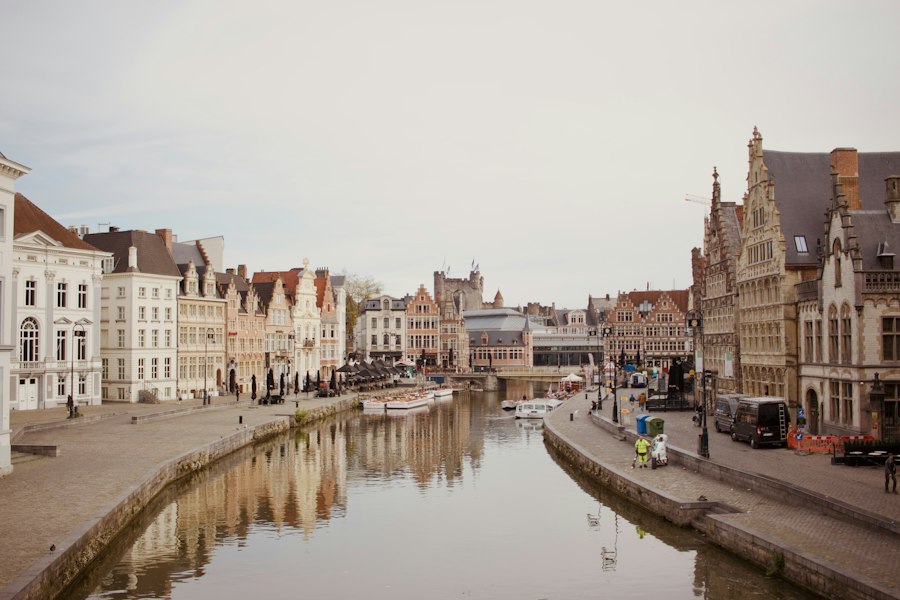
Mastering Bergen blue hour photography 2026 will completely transform the way you capture Norway's iconic gateway to the fjords. As a travel photographer, I have spent years chasing light across Europe, but there is something truly magical about the way dusk settles over Bryggen's colorful wooden facades. The deep indigo sky creates a stunning contrast against the warm orange streetlights reflecting off wet cobblestones. In this guide, I will show you how to capture these breath taking moments using simple techniques that guarantee professional results every single time.
Why Bergen is the Ultimate Location for Dusk Photography
First, let us look at why dusk in coastal Norway offers such a unique visual experience for photographers. Located on the southwestern coast, Bergen experiences extended twilights due to its northern latitude. During the blue hour, which occurs just after sunset, the ambient natural light matches the intensity of artificial city lights. This precise balance prevents your background from blowing out while keeping shadow details rich and vibrant.
Your photos will look far more cinematic during this window than at bright mid day. The secret is knowing how to manage contrast and light temperature. To help you plan your shots precisely, websites like DPReview offer fantastic lighting and gear guides, while detailed camera specifications on the official Sony website can help you understand your camera sensor dynamic range limits.
Golden Rule Cheat Sheet: When shooting Bergen blue hour photography 2026, always expose for the warm highlights on the wooden buildings. Let your camera sensor pull the rich dark blues from the sky naturally without overexposing street lamps.
Essential Equipment for Coastal Night Shooting
Now try this checklist before heading out into the fresh Norwegian evening air. You do not need thousands of dollars in gear, but a few key items are absolutely non negotiable if you want sharp, clean images.
Must-have Gear for Night Travel Photography
- Sturdy Tripod: Bergen is famous for breeze and light drizzle. A rigid carbon fiber tripod stops camera shake during long exposures.
- Fast Prime or Zoom Lens: A 24-70mm f/2.8 lens offers versatility, while a 35mm f/1.4 prime delivers beautiful background blur.
- Remote Shutter Release: Touching your camera to press the shutter button introduces micro vibrations. Use a cable release or a 2 second timer delay.
- Lens Hood and Microfiber Cloths: Rain drops on your front element will ruin street lamp light reflections. Keep your glass bone dry.
Mastering Camera Settings and Technical Terms
Let us break down the core settings without getting bogged down in overly complex math. Understanding these fundamentals ensures your technical confidence when light changes rapidly.
First, always shoot in RAW vs JPEG format. RAW files save all the uncompressed light data captured by your sensor, allowing you to easily adjust shadow recovery later in software. JPEG files compress this data permanently, leaving little room to fix white balance errors.
Next, keep your ISO as low as possible, ideally around ISO 100 or 200. ISO measures your sensor sensitivity to light. A lower ISO yields clean images free of grainy digital noise. Since we are using a tripod, we can leave our shutter open longer instead of boosting sensitivity.
When thinking about focus, consider Bokeh. This word describes the soft, out-of-focus background quality produced when shooting at wide lens openings like f/1.8. However, for sweeping cityscapes along the waterfront, you will want a narrower aperture like f/8 to keep everything sharp from foreground to background.
Finally, utilize Exposure Compensation. This setting allows you to tell your camera to make
Matthias Weber digs into the craft of travel photography, from camera settings to editing. He explains the technical side in plain language so you can spend less time fiddling with dials and more time shooting.
💬 Comments (0)
No comments yet. Be the first!