Best Zumaia Flysch Photo Spots
Explore the dramatic Zumaia Flysch photo spots in 2026 with our expert guide to capturing Spain's Basque coastline.
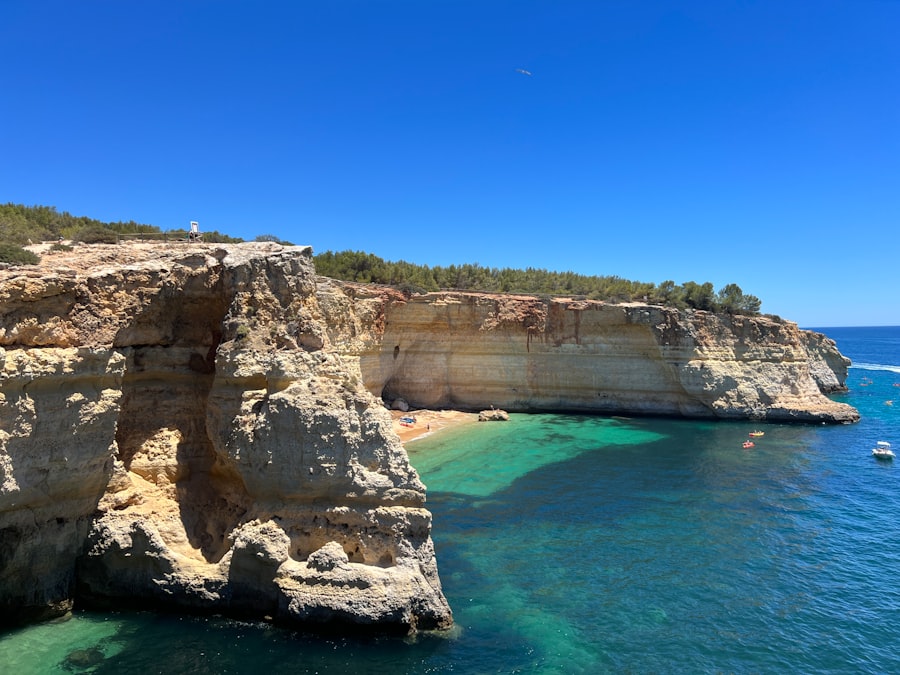
If you are a landscape photographer searching for a location that feels absolutely out of this world, the Basque Coast of Spain holds a treasure that will leave you breathless. The dramatic, accordion-like rock strata of the Basque Country Coastline represent one of the most remarkable geological wonders on Earth. To help you capture this prehistoric masterpiece, we have curated the ultimate guide to the **Zumaia Flysch photo spots**, ensuring you know exactly where to stand, when to click the shutter, and how to frame the ultimate shot.
This coastal stretch is not just a visual playground; it is a giant book of Earth history. These rock layers, formed by millions of years of sediment accumulation beneath the sea and then pushed upright by tectonic forces, date back over 100 million years. Walking along these beaches feels like walking on the spine of a sleeping dragon. It is no wonder this dramatic coast served as the backdrop for Dragonstone in Game of Thrones. Let us dive into the absolute best vantage points to capture this raw, coastal majesty.
1. The Legendary Itzurun Beach Flysch Formations
Itzurun Beach is the undisputed crown jewel of the Zumaia Flysch photo spots. Here, the massive limestone and sandstone ribs run directly from the towering cliffs straight into the Cantabrian Sea. When the tide retreats, it reveals a vast, wet, reflective floor of ribbed stone that mirrors the fiery colors of the Basque sky.
Best Tide and Lighting for Itzurun
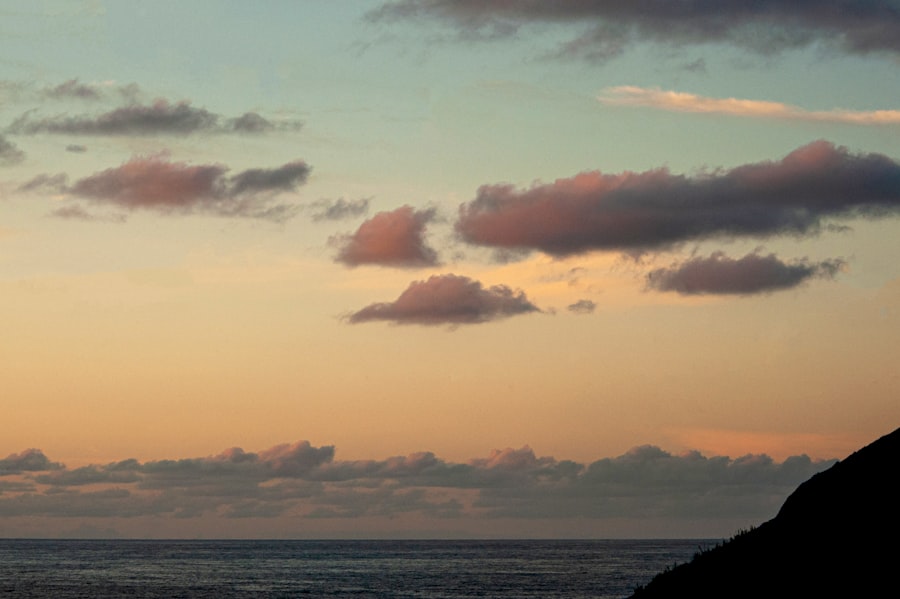
Timing is everything at Itzurun Beach. You must plan your visit around low tide. During high tide, the waves completely submerge the flysch platforms, making photography impossible and highly dangerous. The ultimate vibe occurs during a receding low tide that coincides with sunset. The wet rocks act as giant mirrors, catching the warm orange and pink hues of the fading sun, contrasting beautifully with the cool, dark tones of the wet stone.
Angles and Composition Secrets
To capture the sheer scale of this location, get your camera as low to the ground as possible. Use a wide-angle lens (16mm to 24mm) and position your tripod just inches above the wet rocks. Use the leading lines of the rock ribs to guide the viewer’s eye from the foreground directly into the crashing waves in the mid-ground. A polarising filter is essential here to control the glare on the wet stone and reveal the rich, dark textures of the sediment layers.
Pro Photography Tips: Use a 6-stop or 10-stop Neutral Density (ND) filter to slow down your shutter speed to between 1 and 3 seconds. This will turn the aggressive waves into a misty, ethereal fog that swirls around the sharp, hard edges of the rock formations, creating a striking contrast of textures.
2. Algorri Cove and the Geological Boundary
Just around the corner from Itzurun Beach lies Algorri Cove, a location of immense geological importance. This is the exact spot where scientists identified the K-Pg boundary layer, a thin band of sediment that marks the mass extinction of the dinosaurs. From a visual standpoint, Algorri offers some of the most jagged, vertical rock walls along the entire coastline.
Navigating the Rocky Path to Algorri
Reaching Algorri Cove requires a bit of a hike, but the reward is a much quieter, wilder atmosphere than Itzurun. Start from the town center and follow the coastal trail leading west. You will descend a steep, grassy path down to the rocky shoreline. Good hiking boots with excellent grip are mandatory, as the wet algae on the rocks can be incredibly slippery.
Framing the Vertical Strata
The vibe at Algorri is moody, raw, and intimate. Because you are surrounded by towering vertical cliffs, the light disappears earlier here than at Itzurun. Frame your shots looking west to catch the final golden rays kissing the tops of the vertical rock layers. Use a medium telephoto lens to compress the layers, emphasizing the chaotic, stacked nature of the cliffs.
3. San Telmo Hermitage Clifftop Viewpoint
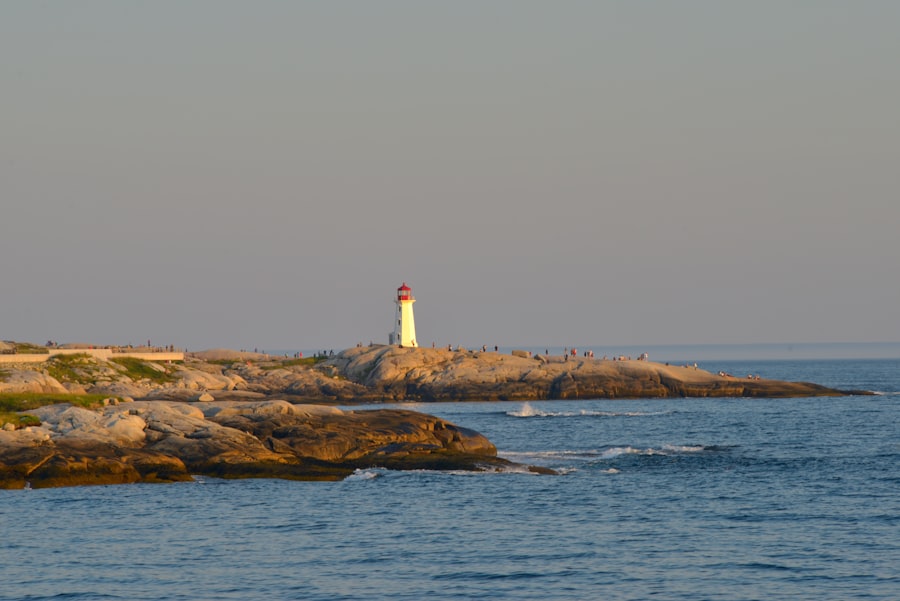
Perched precariously on the very edge of a sheer cliff overlooking the ocean is the Ermita de San Telmo. This tiny, whitewashed chapel dates back to the 16th century and serves as the perfect human-scale element to contrast against the vast, ancient coastal landscape.
The Perfect Composition at San Telmo
This is one of the most iconic Zumaia Flysch photo spots for a classic postcard shot. Walk along the clifftop trail to the east of the chapel. From this vantage point, you can frame the chapel on the left third of your viewfinder, with the dramatic, zigzagging cliffs of the flysch stretching out into the ocean on the right. This composition creates a beautiful balance between human history and the raw power of nature.
- Best Time: Sunrise or late afternoon golden hour.
- Lens Choice: 24-70mm standard zoom to allow flexibility in framing.
- Vibe: Majestic, serene, and deeply historic.
4. The High Cliffs of Talaimendi
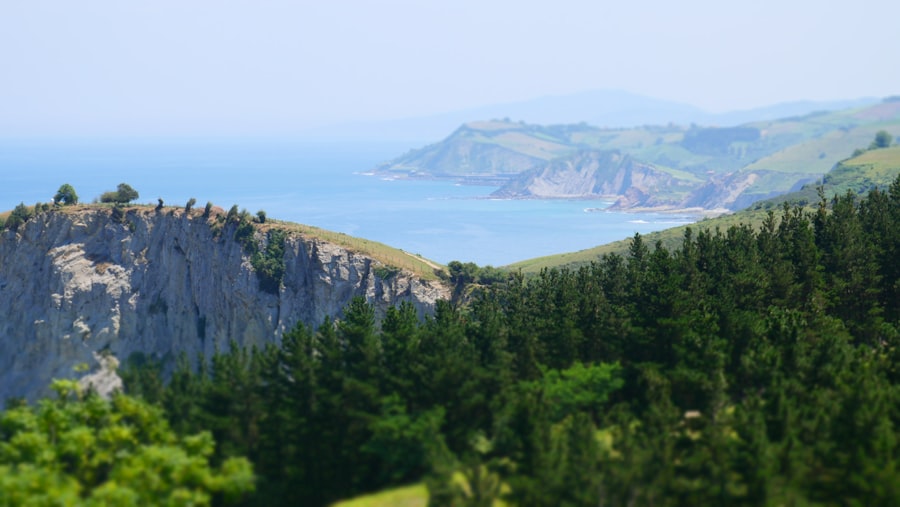
For those who want to capture the grand scale of the Basque Country Coastline, heading up to the heights of Talaimendi is a must. Located on the eastern side of the Urola River estuary, this viewpoint offers a sweeping, panoramic view of the entire coastline, from Zumaia all the way to Getaria.
Capturing the Coastal Curve
From this elevated height, the flysch platforms look like giant fingers reaching out into the deep blue sea. The composition here is all about the grand landscape. Use a telephoto lens (70-200mm) to zoom in on the patterns of the waves breaking over the submerged rock reefs far below. The patterns created by the white foam against the dark blue water and black rock are a dream for abstract landscape photographers.
Pro Photography Tips: Shoot during the blue hour, about 20 to 30 minutes after the sun has set. The sky will turn a deep indigo, and the lighthouse in the distance will begin to sweep its light across the water, adding a magical, storytelling element to your frame.
5. Portutxiki Cove for Secluded Vibes
If you want to escape the crowds of tourists and find a truly quiet spot to connect with the landscape, Portutxiki Cove is your destination. This small, hidden inlet is often overlooked by casual visitors who stick to the main beaches, making it one of the best Zumaia Flysch photo spots for peaceful, creative experimentation.
Accessing the Hidden Cove
To reach Portutxiki, you will need to follow the GR-121 trail that connects Zumaia to Deba. Keep a close eye out for a small, unmarked dirt path that branches off toward the cliffs. The descent is steep and should only be attempted in dry weather, but once you arrive, you will likely have the entire pebble beach and its surrounding rock ribs all to yourself.
Creative Angles and Textures
Portutxiki is filled with smooth, sea-worn boulders that rest on top of the linear flysch plates. This unique combination of round and sharp geometric shapes offers endless opportunities for intimate landscape compositions. Focus on the details: the green moss growing on the rocks, the swirl of the tide pools, and the deep, dark crevices carved by the sea.
6. Planning Your Zumaia Photography Adventure
To make the absolute most of your photographic journey to the Zumaia Flysch, a little bit of preparation goes a long way. This is a dynamic, wild environment where safety should always be your top priority.
Essential Gear and Preparation Checklist
Before you set out to capture the Zumaia Flysch photo spots, ensure your camera bag is packed with the right tools for coastal landscape photography. The environment is damp, salty, and rugged, so preparation is key.
- Sturdy Tripod: The coastal winds can be fierce, and you will need a rock-solid base for long exposures.
- Lens Cleaning Kit: Salt spray will inevitably get on your lens element. Keep microfiber cloths and lens cleaner handy.
- Tide Table App: Always check the local tide charts before stepping onto the beaches. The tide rises quickly and can trap you against the cliffs.
- Footwear: Sturdy, waterproof hiking boots with high-traction rubber soles are non-negotiable.
Final Thoughts on Capturing the Flysch
The Basque Coast is a place of deep time, where the history of our planet is written in stone. By visiting these incredible Zumaia Flysch photo spots with patience, respect for nature, and a creative eye, you will return home with a portfolio of images that truly capture the wild, untamed spirit of the Basque Country. For more travel inspiration and detailed guides to spectacular coastal destinations, check out resources on Lonely Planet and discover traveler reviews and local experiences on TripAdvisor.
Frequently Asked Questions
What is the best time of day to photograph the Zumaia Flysch?
Golden hour, just after sunrise or before sunset, provides the best light for dramatic textures and colors.
Where is the most iconic spot for Flysch photos?
The Itzurun Beach cliff viewpoint offers a classic perspective of the folded rock layers stretching into the sea.
Do I need a special lens to capture the Flysch details?
A wide-angle lens is ideal to capture the vastness, while a telephoto can highlight intricate rock patterns.
Can I take photos at the Flysch during high tide?
For safety and best views, visit during low tide when more rock formations are exposed.
Are drones allowed for aerial photos of the Flysch?
Yes, but you must follow local regulations and avoid disturbing wildlife and other visitors.

Oliver Janssen scouts the best photography spots in every destination, from sunrise viewpoints to overlooked angles on famous landmarks. He shares exactly where to stand and when to be there for the shot.
💬 Comments (0)
No comments yet. Be the first!