Joshua Tree Astrophotography Spots
Capture the cosmos at these Joshua Tree astrophotography spots. Master Milky Way shots in 2026 with our expert location guide.
Joshua Tree Astrophotography Spots: The Ultimate Guide to Milky Way Magic
If you are searching for the ultimate Joshua Tree astrophotography spots, you are about to embark on a visual journey through one of the most mesmerizing stargazing destinations on Earth. Designated as an International Dark Sky Park, this Southern California gem offers crisp, unpolluted night skies where the Milky Way stretches from horizon to horizon. For photographers, the surreal shapes of the Joshua trees and the giant, bulbous monzogranite rock formations create the perfect foreground elements. The raw, prehistoric vibe of the desert comes alive after dark, turning the landscape into a celestial canvas. In this comprehensive guide, we will explore the absolute best locations, camera settings, and composition techniques to capture the cosmos in all its glory.
The Magic of Joshua Tree After Dark
There is an otherworldly feeling that settles over the high desert as the sun drops below the horizon. The temperature plunges, the desert wind whispers through the spiky branches of the Yucca brevifolia, and a blanket of infinite stars reveals itself. Photographing the night sky here is not just about pointing your camera upward; it is about blending the cosmic scale of the universe with the ancient, rugged textures of the Mojave Desert. The geological history of these rocks, formed over 100 million years ago from cooling magma beneath the Earth's surface, provides a timeless anchor for your images. To truly capture this magic, you need to understand how the unique topography interacts with the starlight.
Understanding Desert Light Pollution
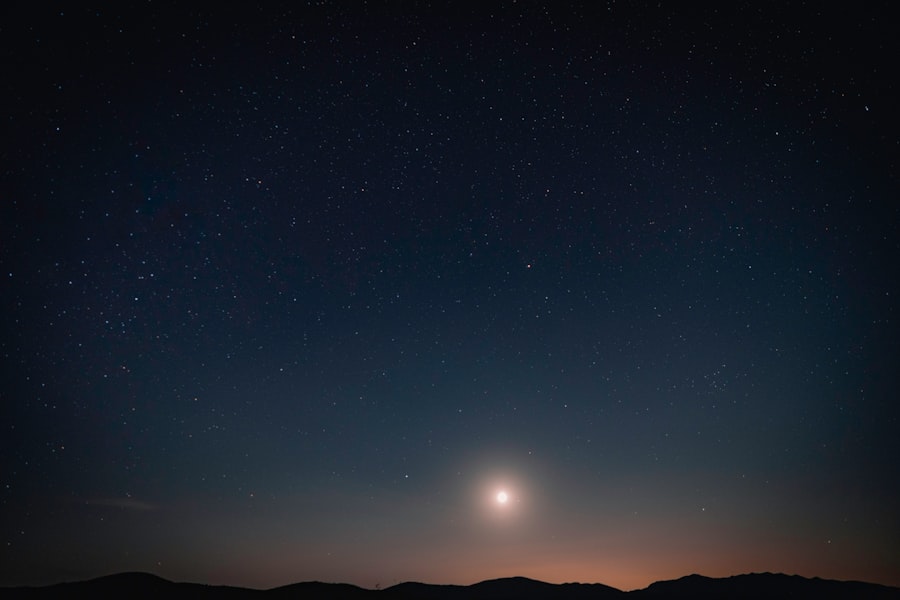
While Joshua Tree National Park is celebrated for its dark skies, light pollution from nearby desert cities like Palm Springs and Twentynine Palms can still creep into your frames. Understanding how to use this ambient glow to your advantage is key. A faint dome of golden light on the horizon can actually add depth to your composition, contrasting beautifully with the deep blues and purples of the night sky. For the cleanest celestial views, you will want to target the northern and eastern sections of the park, where the vast, open valleys shield you from the coastal glare.
Pro Photography Tips: Use a light pollution filter (like a didymium glass filter) to cut through the yellow haze of city glow, restoring the natural blue and magenta tones of the nebulae in your Milky Way shots.
1. Arch Rock: The Iconic Cosmic Frame
When it comes to legendary Joshua Tree astrophotography spots, Arch Rock stands as an absolute masterpiece of natural architecture. This stunning 30-foot natural arch, sculpted by water and wind over millennia, offers an incredible focal point for night photographers. Situated near the White Tank Campground, the arch spans across a field of massive granite boulders, creating a dramatic bridge that seems to hold up the celestial sphere.
To reach Arch Rock, park at the Twin Tanks parking lot and follow the well-marked, flat 1.4-mile round-trip trail. The walk is easy, but navigating the boulder field around the arch in pitch darkness requires a reliable headlamp. Once you arrive, the real creative fun begins. You can position your tripod low to the ground, looking up through the opening of the arch to frame the galactic core of the Milky Way directly within the stone circle.
- Best Composition: Position your camera on the eastern side of the arch, shooting back toward the southwest to capture the Milky Way arching perfectly over the top of the stone span.
- Lighting Strategy: Use a very low-level lighting (LLL) LED panel set to 1% power to gently paint the underside of the arch, revealing the rich orange texture of the granite without overpowering the stars.
- Angles and Framing: Get low to the ground with an ultra-wide lens (14mm to 16mm) to exaggerate the scale of the arch against the infinite sky.
2. Cap Rock: The Perfect Silhouette
Cap Rock is famous for its bizarre rock balancing act, where a massive boulder sits precariously atop a towering stone pillar. Surrounding this geological wonder is an abundance of mature, twisting Joshua trees, making this location a playground for creative framing. The vibe here is moody and mysterious, especially when the desert breeze rustles the dry fronds of the surrounding flora.
Located at the junction of Park Boulevard and Keys View Road, Cap Rock offers effortless access with a paved parking area and a short, wheelchair-accessible 0.4-mile loop trail. Because you do not have to hike far, you can carry heavier gear, including heavy-duty star trackers and multiple camera bodies. This ease of access makes it one of the most popular Joshua Tree astrophotography spots, so arriving early to claim your composition is highly recommended.
Mastering the Silhouette Composition
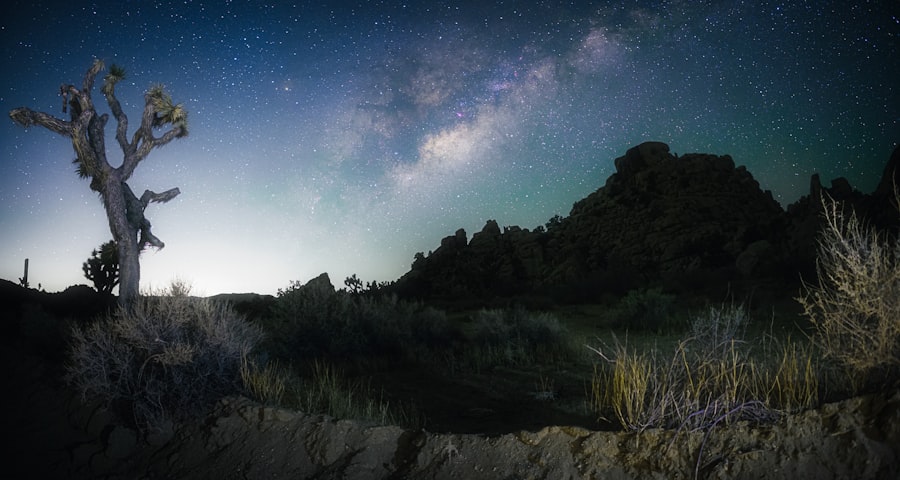
At Cap Rock, the name of the game is high-contrast silhouetting. By positioning your camera low to the ground and pointing upward at a steep angle, you can cleanly separate the jagged shapes of the Joshua trees and the dramatic outline of Cap Rock against the bright, star-dusted sky. This technique eliminates the need for artificial foreground lighting, resulting in a clean, natural, and hauntingly beautiful image.
Pro Photography Tips: To keep your silhouettes tack-sharp, manually focus on a bright star using your camera's live view zoom helper. Once the star is a tiny, crisp point of light, lock your focus ring in place with gaffer tape.
3. Jumbo Rocks: A Playground of Monzogranite Giants
If you want to feel like you are photographing the surface of another planet, Jumbo Rocks is your ultimate destination. This expansive area is characterized by massive, pillowy mounds of monzogranite that glow with a pale, ethereal light under the stars. The sheer scale of these rock formations allows for endless exploration, offering countless unique angles that are shielded from wind and stray light.
You can access this lunar landscape directly from the Jumbo Rocks Campground or the nearby parking pullouts along Park Boulevard. Walking into the labyrinth of boulders, you will quickly find secluded sandy washes where you can set up your tripod in complete solitude. The towering stone walls act as natural baffles, blocking out wind vibrations that can ruin long-exposure photographs.
- Recommended Camera Settings: Use a manual exposure of 15 to 20 seconds, an aperture of f/2.8 or wider, and an ISO between 3200 and 6400 to pull out the delicate dust lanes of the Milky Way.
- Foreground Depth: Place a prominent, weathered Joshua tree in the mid-ground, with the massive, rounded boulders of Jumbo Rocks curving through the background to create a strong sense of three-dimensional depth.
- Creative White Balance: Set your white balance manually to a cool temperature (around 3200K to 3800K) to enhance the deep cosmic blues of the night sky while keeping the granite rocks looking natural.
4. Barker Dam: Celestial Reflections in the Desert
Water in the desert is a rare and precious sight, which makes Barker Dam one of the most unique Joshua Tree astrophotography spots in the entire park. Built by early cattle ranchers in the early 1900s, this historic reservoir can hold a significant amount of water during the winter and spring months. When the water is calm and the wind dies down, the lake becomes a perfect mirror, reflecting the brilliant stars and the Milky Way on its glassy surface.
The trail to Barker Dam is an easy, scenic 1.1-mile loop starting from the Barker Dam parking lot. As you walk through the narrow rock passages, you will pass historic petroglyphs and groves of oak trees before emerging at the water's edge. Because of the presence of water, this spot has a peaceful, serene vibe that is entirely different from the rest of the arid park.
Chasing the Perfect Mirror Image
To successfully capture cosmic reflections, you must monitor the wind forecast closely. Even a gentle breeze can create ripples on the water, blurring the reflected stars into a messy haze. For the best composition, set your tripod legs directly at the water's edge, positioning your frame so that the dividing line between the real sky and the reflected sky sits dead center, creating a symmetrical, dreamlike balance.
Essential Gear and Camera Setup for Desert Astrophotography
Photographing the night sky in the desert requires specialized gear and preparation to ensure both your safety and the quality of your images. The extreme environment can be tough on equipment, so coming prepared is essential for a successful night under the stars. Refer to resources like Lonely Planet and TripAdvisor for seasonal travel advice, as daytime scouting is crucial before navigating these trails in the dark.
The Ultimate Astrophotography Gear Checklist
Before you head out into the dark desert night, make sure your camera bag is packed with these essential tools:
A sturdy, heavy tripod is your most important asset; desert winds can easily cause camera shake on lightweight travel tripods. Additionally, a fast, wide-angle prime lens (such as a 20mm f/1.8 or 24mm f/1.4) will allow your camera sensor to collect as much starlight as possible during your exposure. Bring plenty of spare batteries, as the cold desert nights drain battery life much faster than normal.
- Full-Frame Camera: Excellent high-ISO performance is critical for clean, noise-free night sky images.
- Intervalometer: Essential for shooting star trails or time-lapse sequences without touching the camera body.
- Headlamp with Red Light Mode: Red light preserves your night vision and does not ruin the long exposures of fellow photographers nearby.
- Lens Heater: Prevents dew from forming on your front lens element during rapid temperature drops.
Frequently Asked Questions
What are the best astrophotography spots in Joshua Tree National Park?
Popular spots include Arch Rock, Skull Rock, the Cholla Cactus Garden, and Hidden Valley. These areas offer dark skies and unique foregrounds.
Do you need a permit for nighttime astrophotography in Joshua Tree?
No, but you must adhere to park hours; however, astrophotography is allowed within designated camping areas or with a backcountry permit if hiking at night.
What is the best time of year for astrophotography in Joshua Tree?
The best times are during spring and fall near the new moon, when the Milky Way is visible and the weather is mild, avoiding summer heat.
What equipment is essential for astrophotography at Joshua Tree?
A camera with manual settings, a wide-angle lens, a sturdy tripod, and a remote shutter release to prevent shakes and enable long exposures.
Are there any restrictions on light pollution or lighting for astrophotography?
You must use red lights or flashlights with red filters to preserve night vision and minimize light pollution. Single flash images require no permit, but prolonged artificial lighting is discouraged.

Oliver Janssen scouts the best photography spots in every destination, from sunrise viewpoints to overlooked angles on famous landmarks. He shares exactly where to stand and when to be there for the shot.
💬 Comments (0)
No comments yet. Be the first!